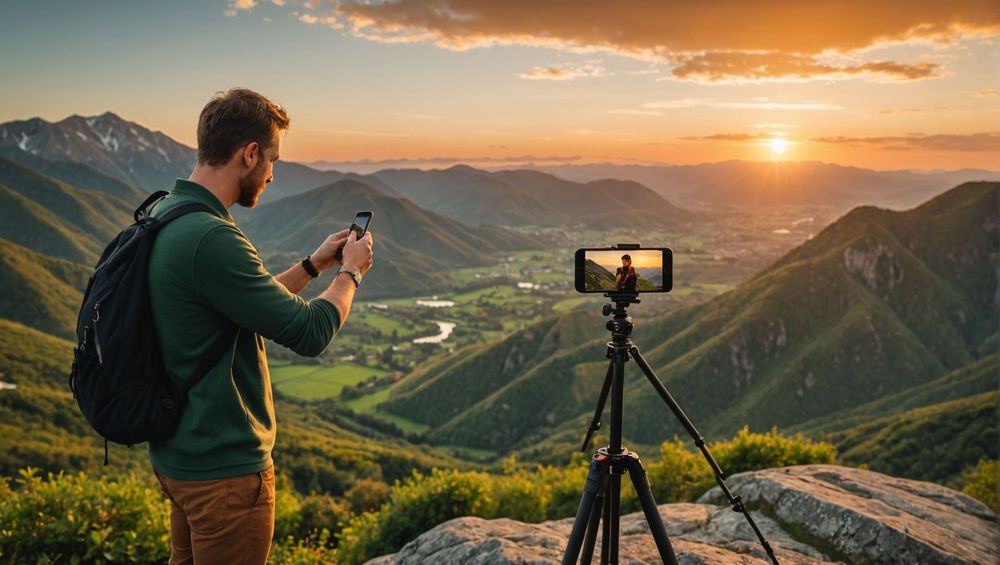
Using a tripod with an iPhone can greatly enhance the quality of your photographs and videos by providing stability and reducing camera shake. Whether you’re shooting landscapes, portraits, or engaging in live streaming, a tripod allows for clearer, sharper images. In this article, we will delve into various aspects of utilizing a tripod with your iPhone, including selecting the right tripod, setting it up properly, and embracing advanced features to optimize your shooting experience.
Choosing the Right Tripod
To make the most out of your iPhone photography and videography, choosing the right tripod is crucial. Here are key factors to consider:
- Weight and Portability: If you’re a frequent traveler, opt for a lightweight and portable tripod that easily fits in your backpack.
- Height Adjustability: Choose a tripod that can adjust to various heights to capture different angles without strain.
- Build Quality: Look for durable materials like aluminum or carbon fiber, which provide stability and longevity.
- Compatibility: Ensure that the tripod is compatible with an iPhone mount, specifically designed to hold mobile devices securely.
- Price: Tripods come in various price ranges, so determine your budget while ensuring you don’t compromise on quality.
Setting Up Your Tripod
Once you have selected the perfect tripod for your iPhone, setting it up properly is essential for effective use. Here’s a step-by-step guide to get you started:
- Extend the Legs: Start by extending the tripod legs to your desired height. Ensure they are securely locked in place.
- Level the Tripod: Use a bubble level (if available) to make sure your tripod is stable and level on uneven ground.
- Attach the iPhone Mount: If your tripod doesn’t have a phone holder built-in, use an iPhone mount, securely attaching it to the tripod head.
- Position Your iPhone: Place your iPhone into the mount, ensuring it’s tightly secured to prevent slipping.
- Check the Angle: Adjust the angle of the iPhone to frame your shot perfectly, considering the rule of thirds for composition.
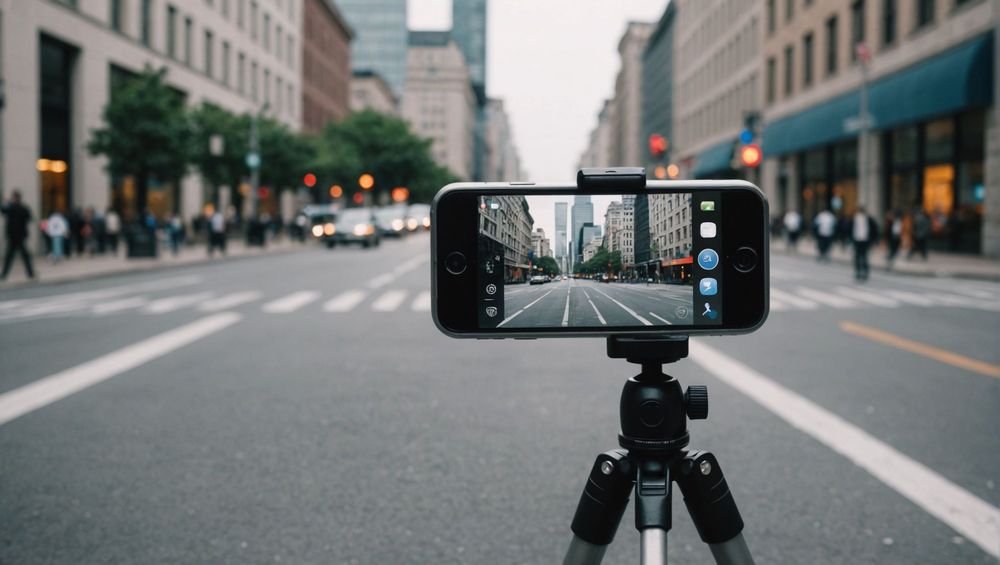
Adjusting Settings for Optimal Photography
With your iPhone securely attached to the tripod, ensure you optimize your camera settings to achieve the best results. Consider these tips:
- Enable Grid Lines: Activate grid lines in the camera settings to help with better composition.
- Use Manual Focus: For precise focusing, consider using third-party camera apps that allow manual adjustments.
- Adjust Exposure: Tap on the screen to adjust exposure levels for lighting control. A properly exposed photo captures finer details.
- Utilize a Timer: Use the self-timer setting to minimize camera shake when taking the shot.
- Experiment with Long Exposures: For nighttime photography, use long exposure apps to create stunning images with movement.
Exploring Advanced Features
After mastering basic tripod usage with your iPhone, explore advanced features to elevate your photography. These enhancements can significantly improve the quality of your shots:
- Remote Shutter Release: Utilize Bluetooth remote controls or camera apps that offer remote shooting capabilities to eliminate shake.
- Time-lapse and Burst Mode: Experiment with time-lapse photography or burst mode to capture motion over time intensively.
- Attach External Lenses: Consider using external lenses designed for iPhones to extend your creative possibilities.
- Editing Software: Post-processing software can enhance your final images or videos, allowing you to adjust colors or add effects.
- Track Your Shots: Use third-party apps to track your photoshoot, providing insights for future improvements.
Conclusion
Using a tripod with your iPhone opens up a plethora of possibilities for capturing stunning photos and videos. By selecting the right tripod, setting it up properly, adjusting camera settings, and leveraging advanced features, your mobile photography can reach new heights. This practical setup enhances stability, allowing for better creativity, composition, and clarity. Whether you’re a hobbyist or a seasoned photographer, employing this simple tool can lead to remarkable results and unforgettable memories.
FAQs
- Can I use a regular tripod for my iPhone?
Yes, you can use a regular tripod, but ensure you have an appropriate phone mount to secure your iPhone. - What features should I look for in an iPhone tripod?
Seek features such as portability, height adjustability, build quality, and a compatible phone mount. - Do I need a special app to take pictures with a tripod?
No, the built-in camera app works well, but consider third-party apps for more control over settings. - How do I prevent camera shake when using a tripod?
Utilize the self-timer or a remote shutter release to avoid shaking the phone while taking pictures. - Can I use my tripod for video recording?
Absolutely! A tripod is ideal for stabilizing your iPhone for both photography and videography.